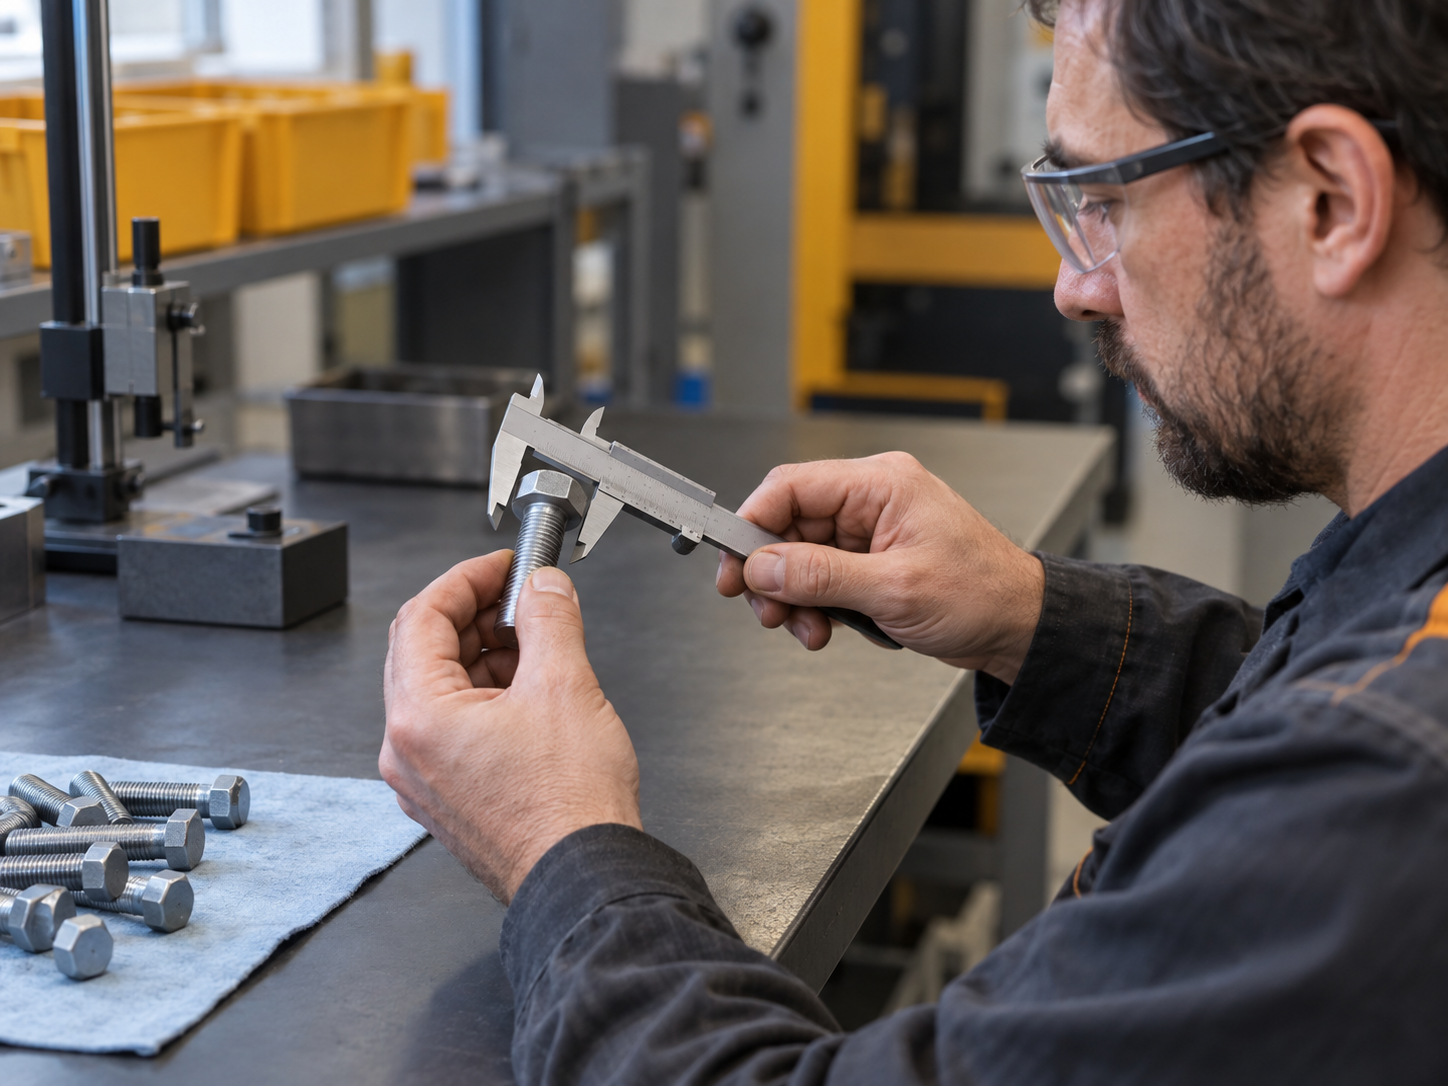
Measure the question first.
A drawing and a measured sample can make a requirement concrete. Keep the revision and the intended application alongside the dimensions.
Fasteners / Components / Connections
Fastener concepts for the connections behind a larger product. Bring the drawing, the environment and the assembly sequence into one clear conversation.
Open the component directory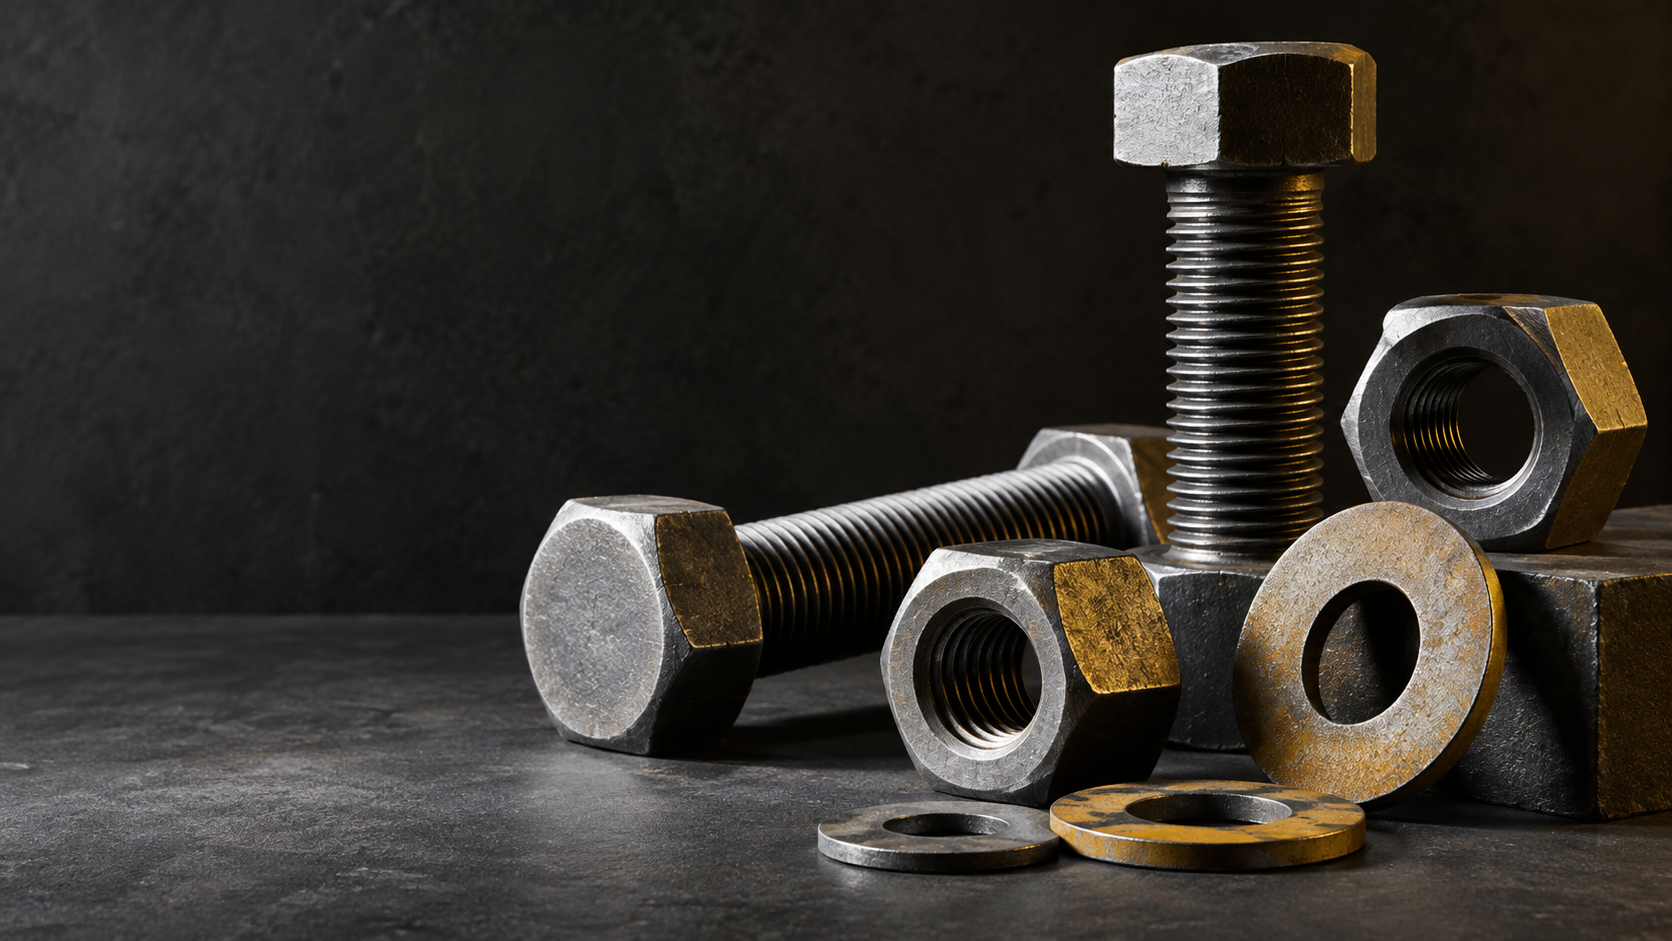
Component directory
Three families for a component brief. Actual grades, standards and suitability must be confirmed for the application.
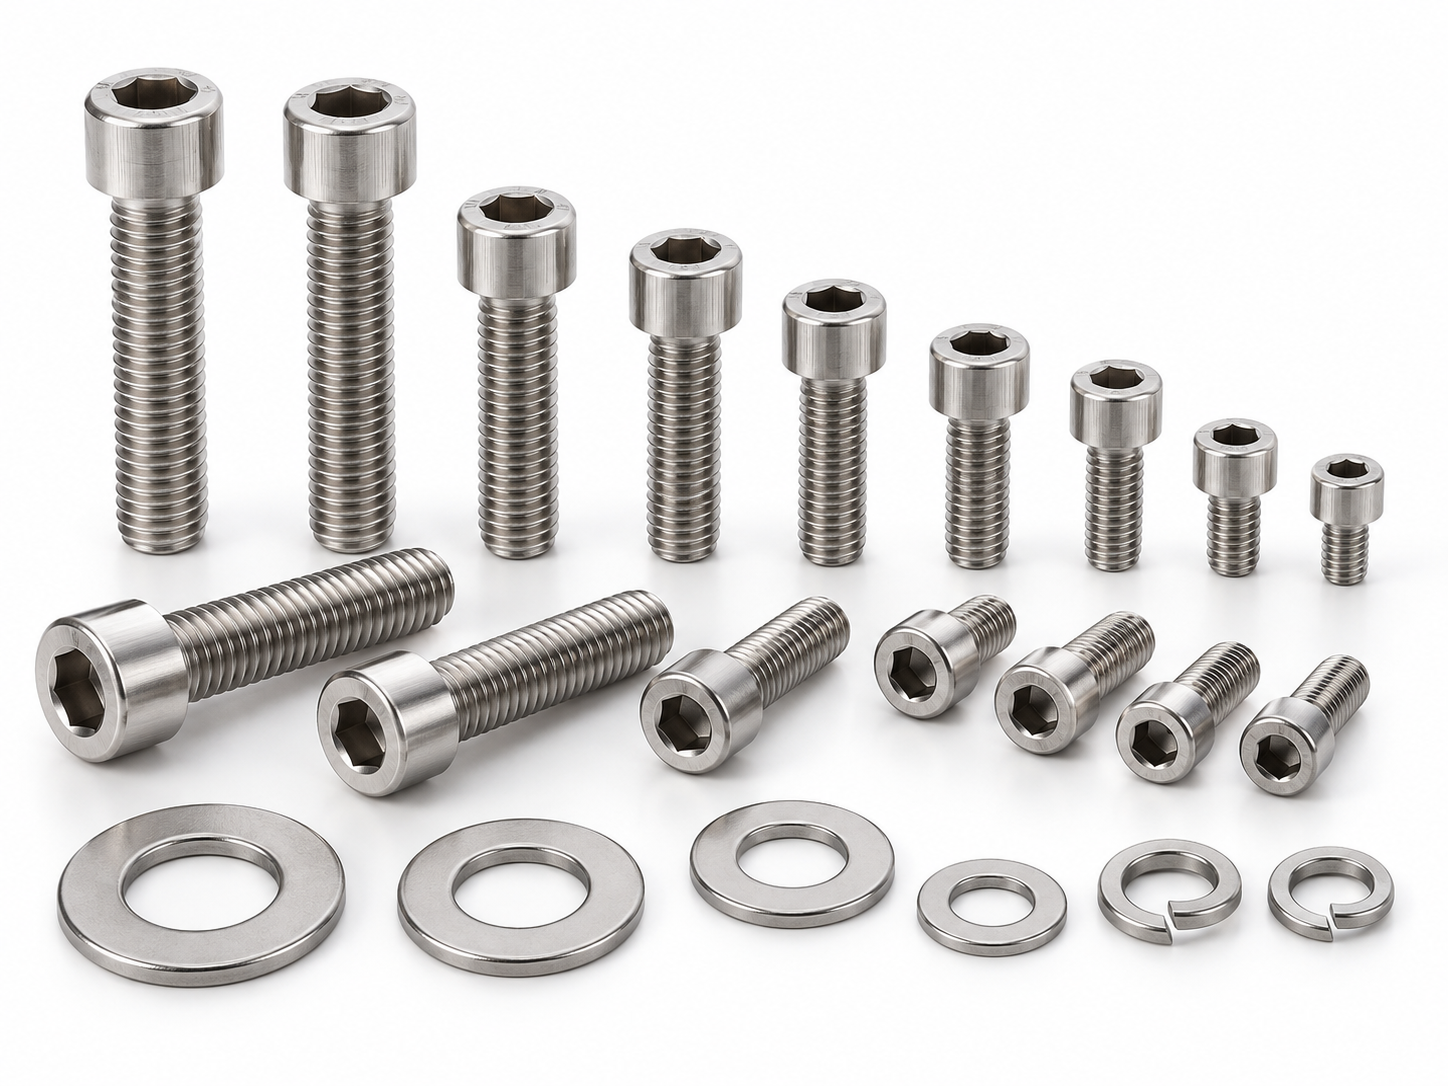
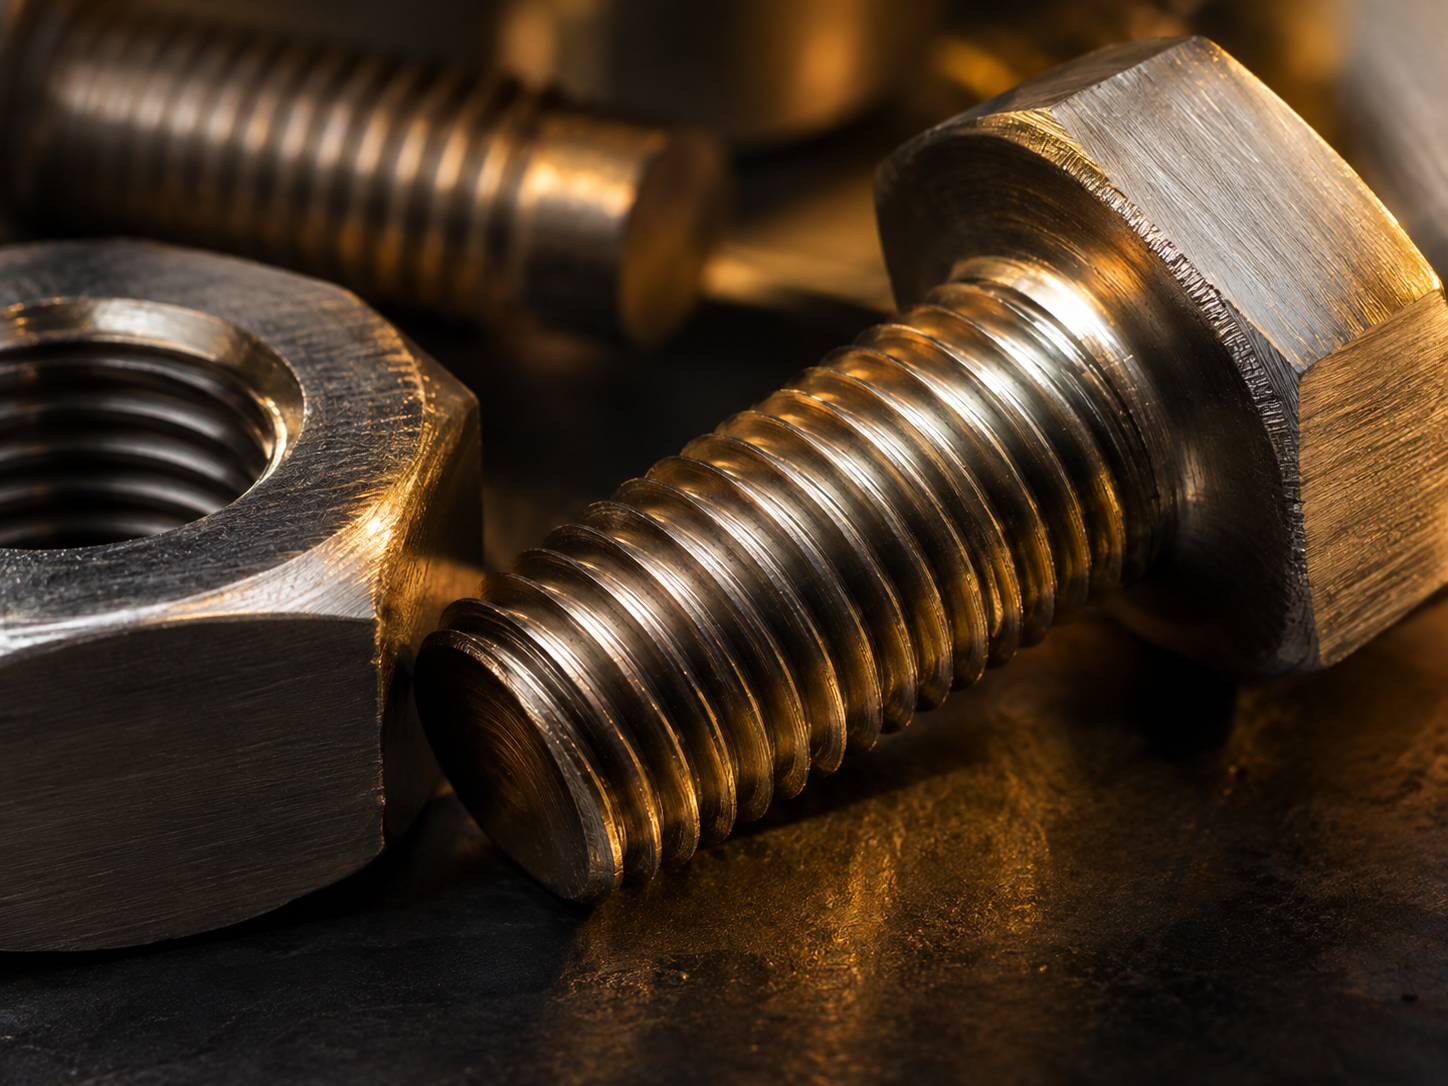
Threads. Tolerances. Interfaces.
Thread form, head geometry and the surface are where the connection happens. A close view is useful, but a drawing and agreed specification make the requirement reproducible.
From drawing to discussion
A fastener is selected in relation to the parts it joins. Geometry, material, finish and installation requirements belong together. Our catalogue direction makes room for those questions before a component is specified.
A drawing and a measured sample can make a requirement concrete. Keep the revision and the intended application alongside the dimensions.
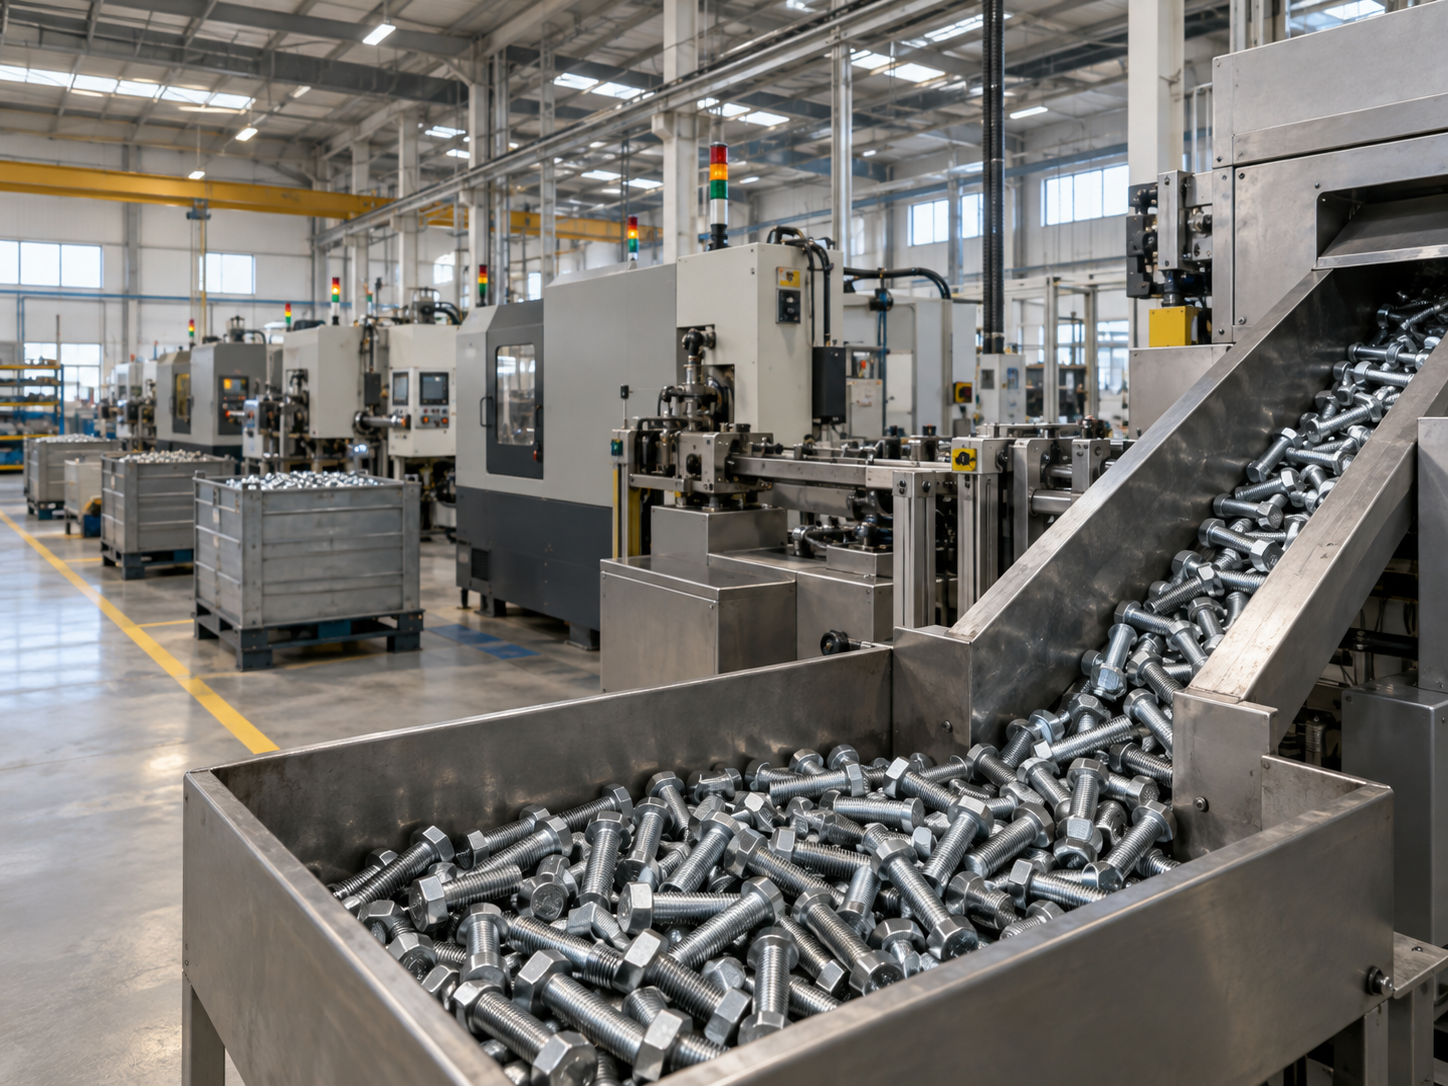
Feeding, positioning and tightening affect the assembly process. Describe where the fastener enters that sequence.

Make the requirement visible
The manufacturing conversation connects geometry, process and inspection. Define the characteristics that matter to the assembly and the documentation needed to review a sample.
01
Collect the drawing revision, mating parts, environment and assembly method.
02
Specify dimensions, material, finish and the standards relevant to the application.
03
Agree the inspection and approval process before treating a concept as a production part.
Further reading
DRAWING
A small change can alter a component requirement. Identify the drawing version in every parts discussion.
ASSEMBLY
Installation access is part of the design. Consider the surrounding parts as well as the fastener.
PACKING
Pack quantities help organise supply conversations. Keep labels and line-item identity with the count.
No. BRIX is a website and brand concept. No grade, standard compliance or tested performance is claimed.
No. It only multiplies pack quantity and pack count. Fastener selection requires the application specification.
Drawing revision, dimensions, material, finish, mating parts, quantity and assembly context are useful starting points.
BRIX / A conversation starts here
Gather the ideas that matter to you. Leave with a clearer starting point for your next conversation.